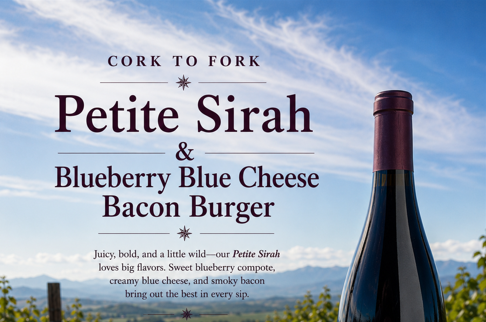
Paired with Williamson’s Estate Grown 2021 Reserve Grenache

There’s something special about gathering around the grill on a warm July evening. This month, we’re taking inspiration from the South of France, where Grenache has long been a favorite at the dinner table. Known for its bright fruit, warm spice, and food-friendly character, our estate grown 2021 Reserve Grenache pairs beautifully with simple grilled ingredients and fresh summer flavors.
These Mediterranean-inspired kabobs are packed with colorful vegetables, lightly seasoned sausage, and aromatic herbs. Served alongside warm rustic bread, olives, and creamy whipped feta, they’re the perfect excuse to slow down, pour a glass of wine, and enjoy dinner outdoors.
Ingredients
Kabobs
- 14 oz fully cooked Italian sausage or artisan chicken sausage, sliced into 1-inch pieces
- 2 zucchini, sliced into ½-inch rounds
- 1 yellow squash, sliced into ½-inch rounds
- 1 red bell pepper, cut into 1½-inch pieces
- 1 yellow bell pepper, cut into 1½-inch pieces
- 1 small red onion, cut into wedges
- 8 oz whole cremini mushrooms
- 1 pint cherry tomatoes
- Metal or soaked wooden skewers
Mediterranean Herb Marinade
- ¼ cup extra virgin olive oil
- Juice of 1 lemon
- 2 cloves garlic, minced
- 1 tablespoon chopped fresh rosemary
- 1 tablespoon chopped fresh thyme
- 1 teaspoon dried oregano
- ½ teaspoon smoked paprika
- ½ teaspoon kosher salt
- ¼ teaspoon black pepper
Whipped Feta
- 8 oz feta cheese
- ¼ cup plain Greek yogurt
- 2 tablespoons olive oil
- Juice of ½ lemon
- Fresh cracked pepper
For Serving
- Rustic sourdough or French bread
- Mixed olives
- Fresh basil
Directions
Step 1: Make the Marinade: In a small bowl, whisk together the olive oil, lemon juice, garlic, rosemary, thyme, oregano, smoked paprika, salt, and pepper until well combined.
Step 2: Assemble the Kabobs: Thread the sausage, zucchini, yellow squash, bell peppers, red onion, mushrooms, and cherry tomatoes onto skewers, alternating colors and vegetables for an even mix of flavors in every bite.
Step 3: Marinate: Brush the kabobs generously with the herb marinade, reserving a small amount for basting while grilling if desired. Let the kabobs rest for 20 to 30 minutes at room temperature.
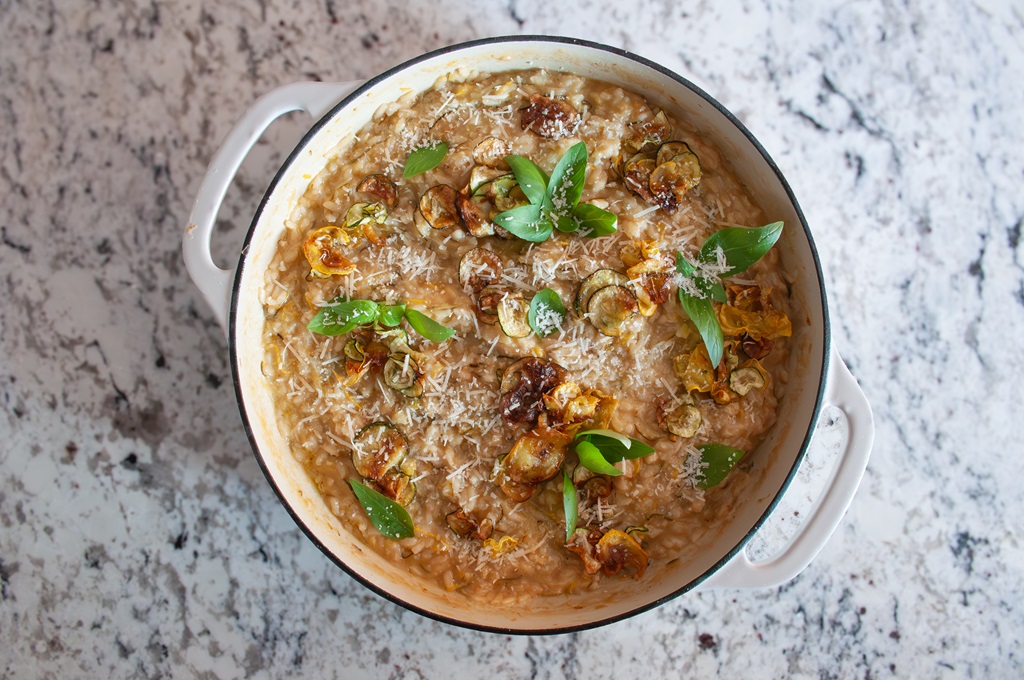
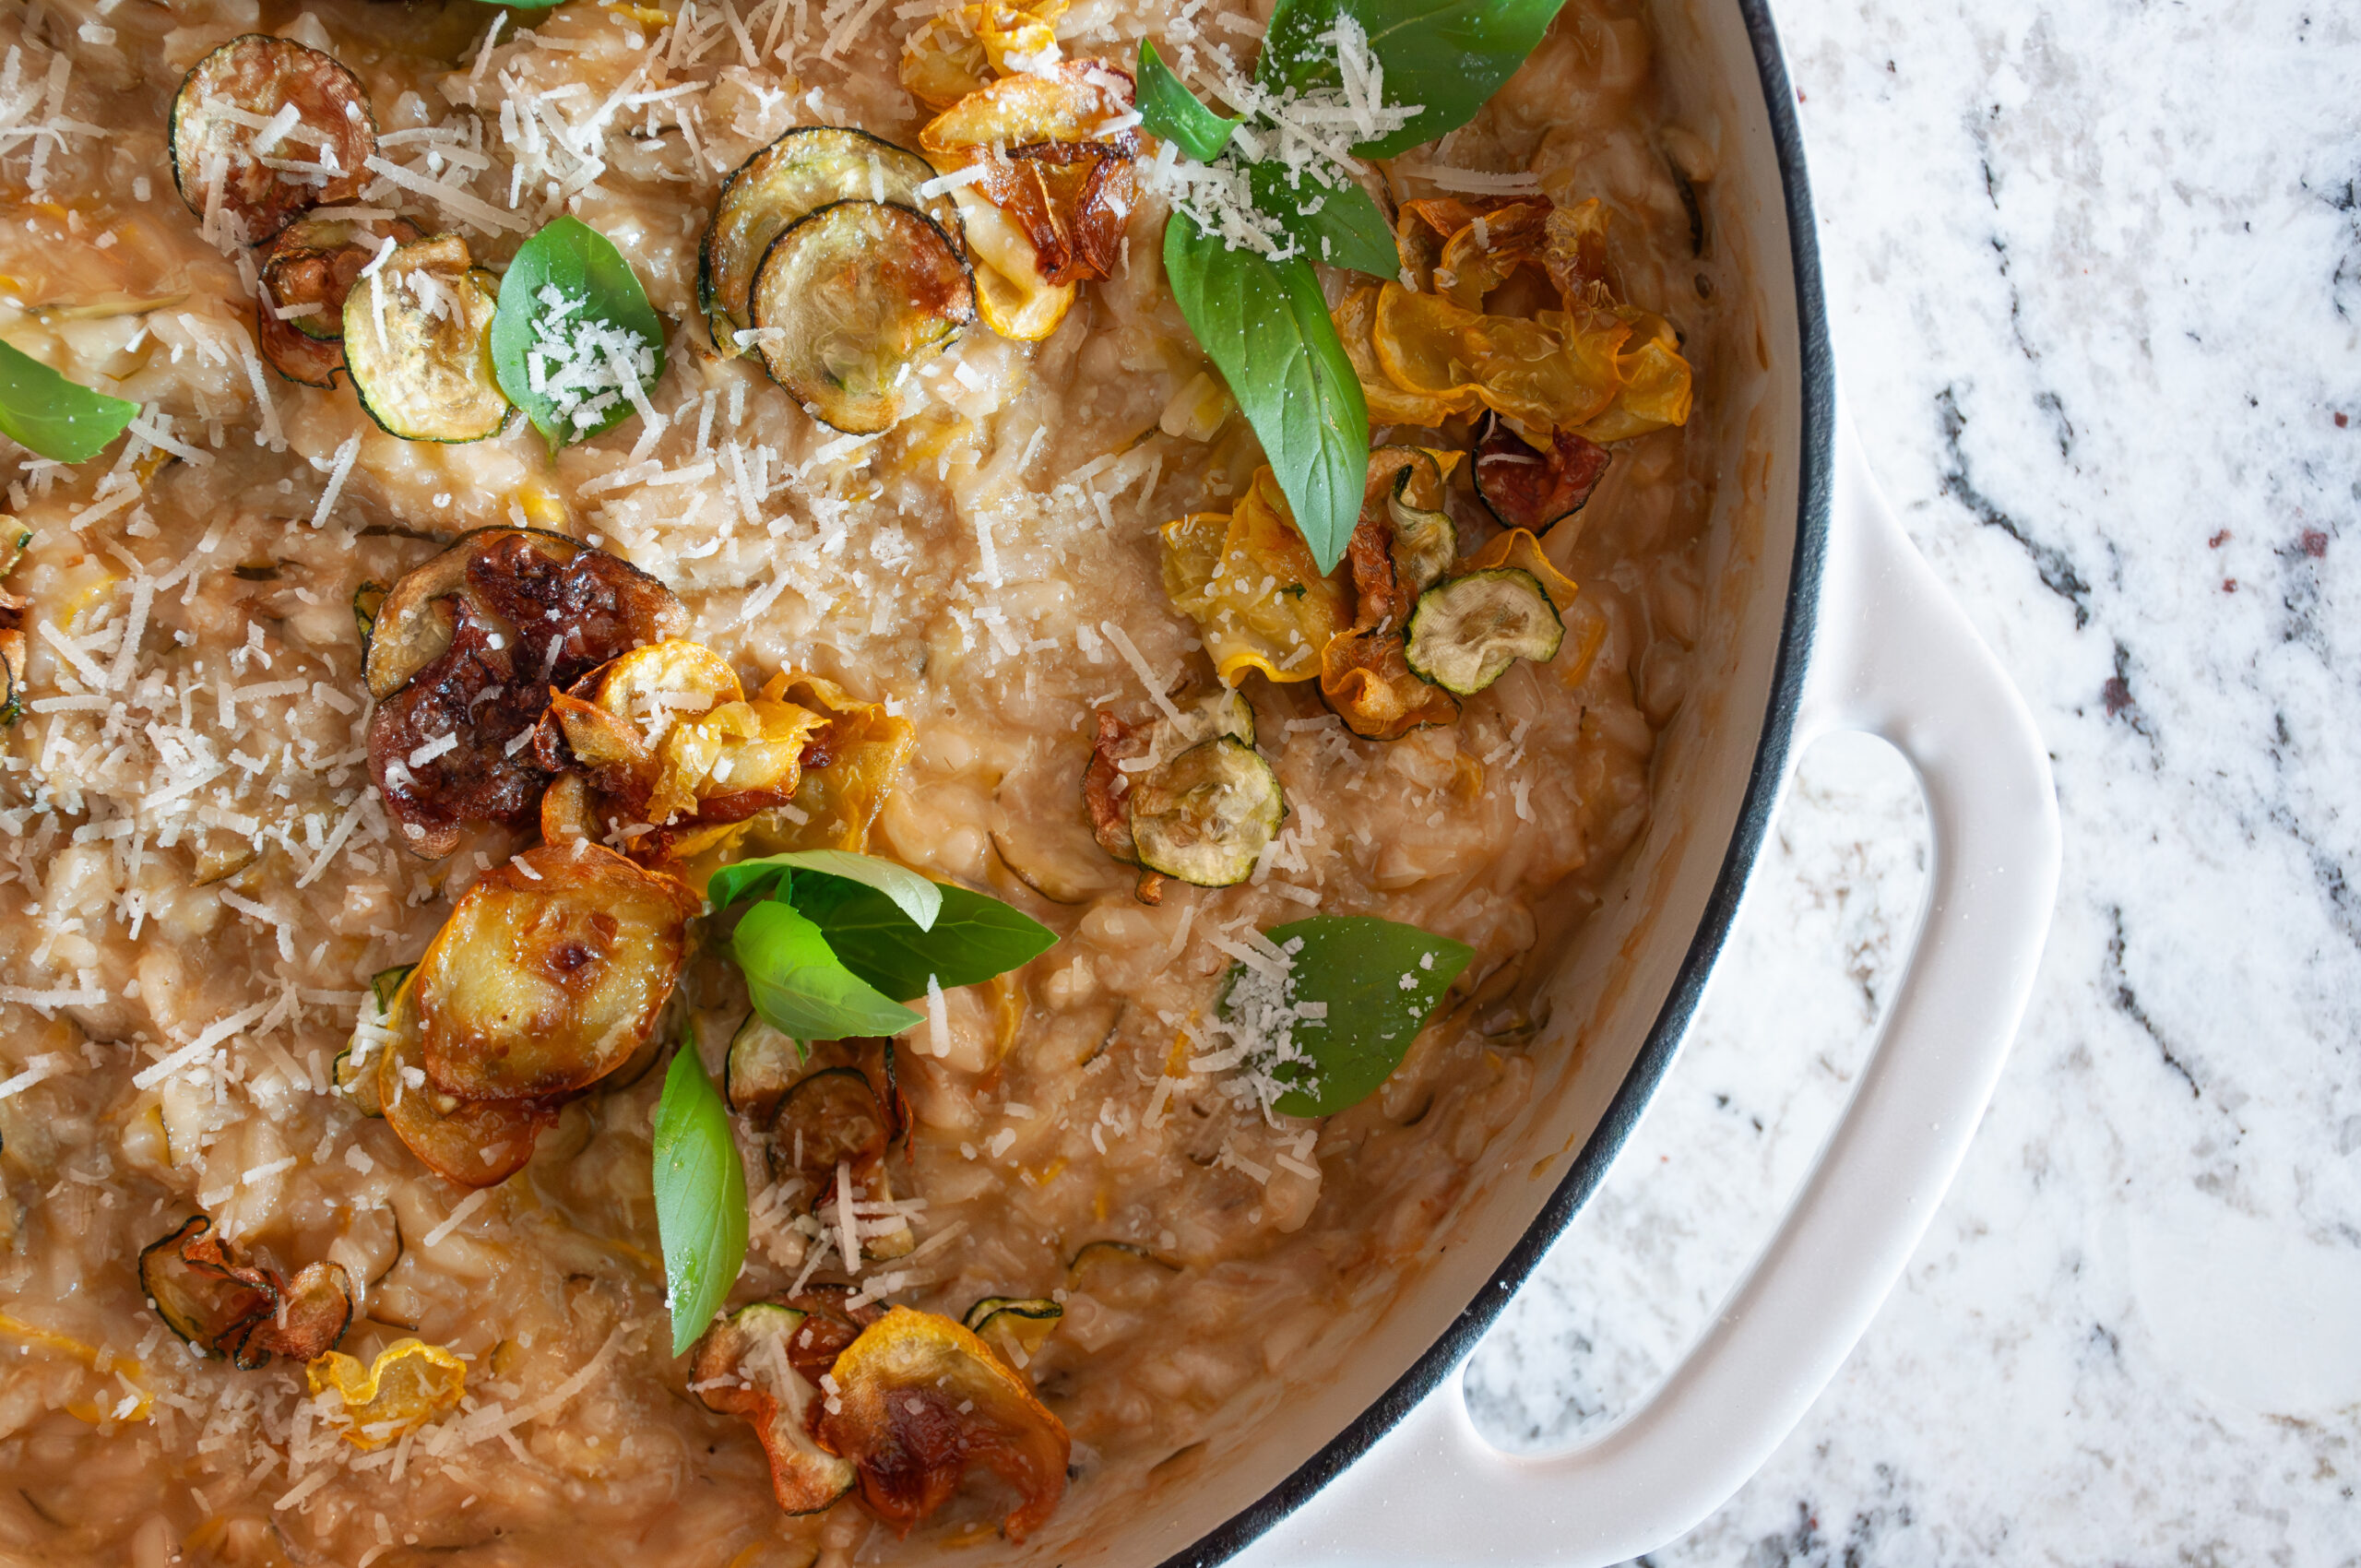
Step 4: Prepare the Whipped Feta: While the kabobs marinate, combine the feta, Greek yogurt, olive oil, lemon juice, and black pepper in a food processor. Blend until smooth and creamy. Transfer to a serving bowl and refrigerate until ready to serve.
Step 5: Preheat the Grill: Heat your grill to medium high heat and lightly oil the grates.
Step 6: Grill the Kabobs: Place the kabobs on the grill and cook for 10 to 12 minutes, turning every 2 to 3 minutes until the vegetables are lightly charred and the sausage is heated through. Brush with the reserved marinade during the first few minutes of grilling for an extra layer of flavor.
Step 7: Toast the Bread: While the grill is still warm, lightly toast slices of rustic sourdough or French bread until golden with light grill marks.
Step 8: Assemble the Platter: Spread the whipped feta onto a serving platter or serve it in a small bowl alongside the kabobs. Arrange the grilled kabobs with fresh basil, warm toasted bread, and a bowl of mixed olives.
Step 9: Pour and Enjoy: Pour a glass of Williamson’s 2021 Reserve Grenache and enjoy a relaxed Mediterranean inspired summer meal with family and friends.
Wine Pairing
Our 2021 Reserve Grenache spent 30 months in 100% used French oak, preserving its vibrant fruit while developing remarkable complexity. Aromas of warm spice, floral notes, and ripe red berries lead into flavors of strawberry, raspberry, subtle tobacco, rose, dark fruit, and black tea.
The bright acidity refreshes your palate between bites of grilled vegetables, while the herbs echo the rosemary and thyme in the marinade. The creamy whipped feta softens the wine’s structure, allowing its elegant fruit to shine, and the lightly seasoned sausage brings just enough richness to create a beautifully balanced pairing.
This is the kind of meal, and wine, that’s best enjoyed outdoors with family, friends, and plenty of conversation.